If you opted to include the "Make an Appointment" page on your website, it will allow users to book available spots for consultations, etc. with you directly through the website. Once an appointment is selected by the user, the system sends an email notification to you in order to confirm the appointment. Here are the instructions on how to confirm these appointments:
-
To confirm an appointment, log into the admin side of your website at [yoursitenamehere].com/wp-admin (insert your own site name in place of the bracketed words and remove brackets!).
-
If your site is already live and you are accepting client appointments, you should have already received an email with a Wordpress username that prompted you to set a password. If you did not receive this login information, please contact support@architectsmarketing.com for help.
Once you are logged in, you should see a Dashboard with a sidebar. Scroll down the sidebar until you see "My Appointments" and click on that.  You should see options across the top of the Appointments page for Active Appointments, Pending Appointments, Completed Appointments, Reserved by GCal, and Removed Appointments. Any appointments that were requested by a user but have not been confirmed by you should be found under Pending Appointments.
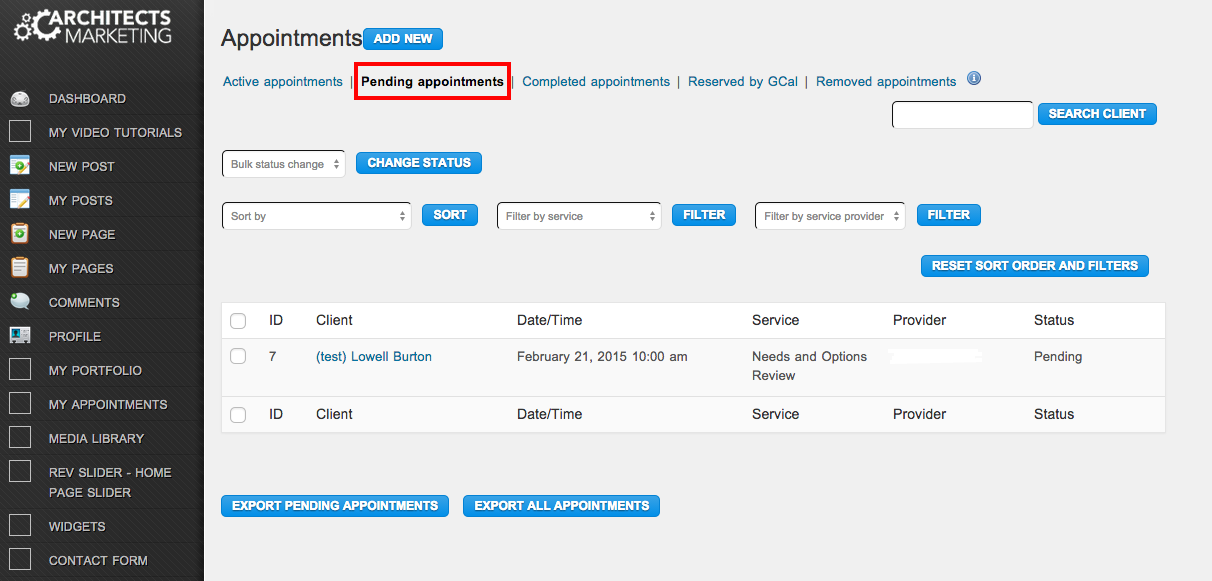
To accept or reject the pending appointment, you need to edit the appointment. To do this, hover over the client's name until you see the option for "See Details and Edit" appears. Click on that link to edit the appointment. 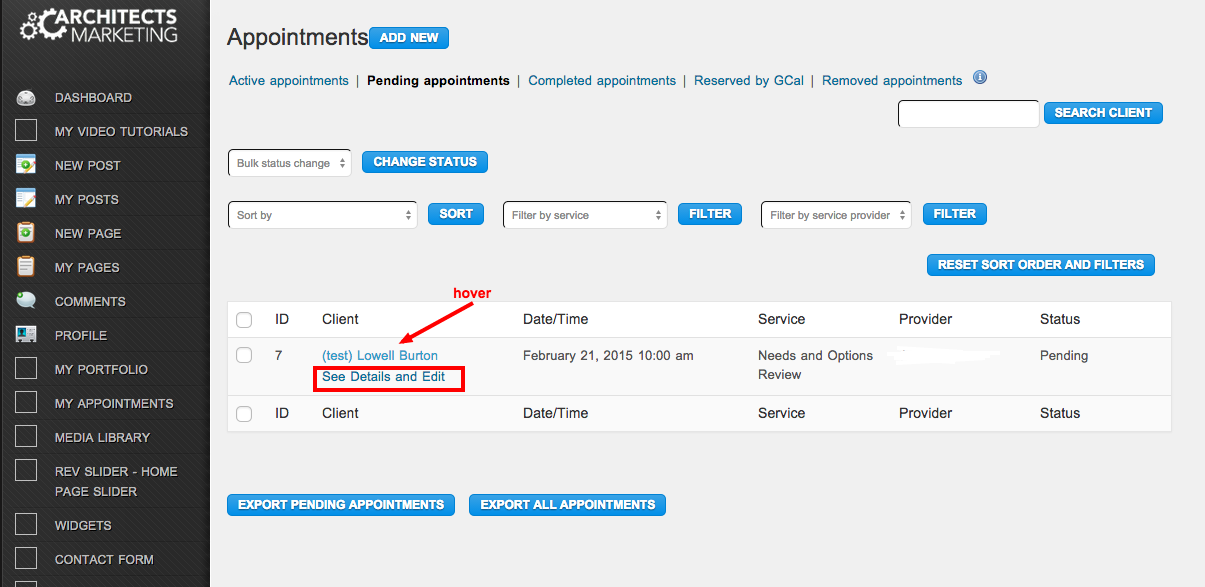
Now you will see all the information about the client, dates/times of the appointment, a section for you to add your own notes, and at the bottom, a box for "Status" and a checkbox to confirm the appointment. 
To reject the appointment, select "Remove" from the dropdown box next to "Status" and click "Save/Update".
To accept the appointment, change the status to "Confirmed" and check the box that says "Confirm", and click "Save/Update". This will send a confirmation email to your client as well.
-
If you DON'T want to send a confirmation email to your client when you confirm, just update the status but leave the box unchecked for "(Re)send confirmation email".
After you have saved the appointment, you should be able to see it under the appropriate tab now (either Active Appointments if you confirmed it, or Removed Appointments if you rejected it). 
You can change the status of these appointments at any time by logging in and editing the appointments.